Guide - How to Mint an NFT from a factory

A quick guide for new users detailing how to mint an NFT from an Arcblock Factory
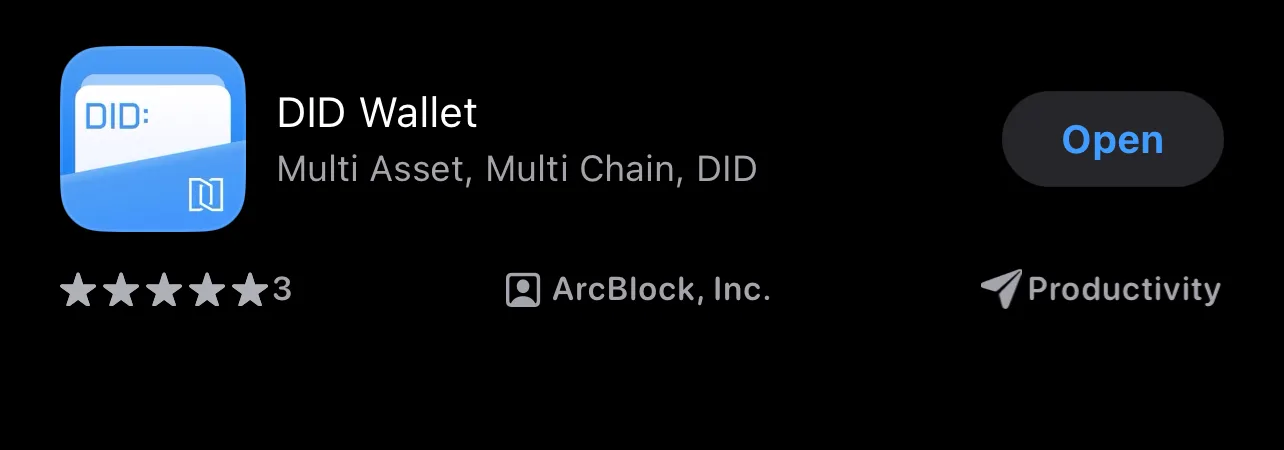
- Firstly you will need a DID Wallet with Native ABT, to set up your DID wallet visit the App Store and search “DID Wallet”. Once downloaded follow the steps in app to set up your wallet.
- Once your wallet is in place you will need native ABT, this can be gained in numerous ways:
- By contributing to the Arcblock Community and qualifying for a Bug bounty reward (paid monthly)
- By someone gifting or sending you Native ABT
- By bridging over ETH ABT to Native ABT (see Bridging Guide) How to get native ABT?
- It’s also worth noting that there will be a gas fee for the transaction unless you benefit from gas free transactions by staking 1ABT (which is well worth doing if you plan on interacting with the Arcblock ecosystem regularly) see the following guide for setting up your gas free stake Guide - How to stake ABT for gas free transactions
- Now you’re all set with your DID Wallet and Native ABT you can access factories:
- Directly via a shared link from the creator of the NFT Collection (always be mindful when clicking links sent via DM or social media, DYOR)
- Via the Factories page on Arcblock explorer page link here:
- Here you can scroll through the current NFT factories to find the collection you want to mint from.
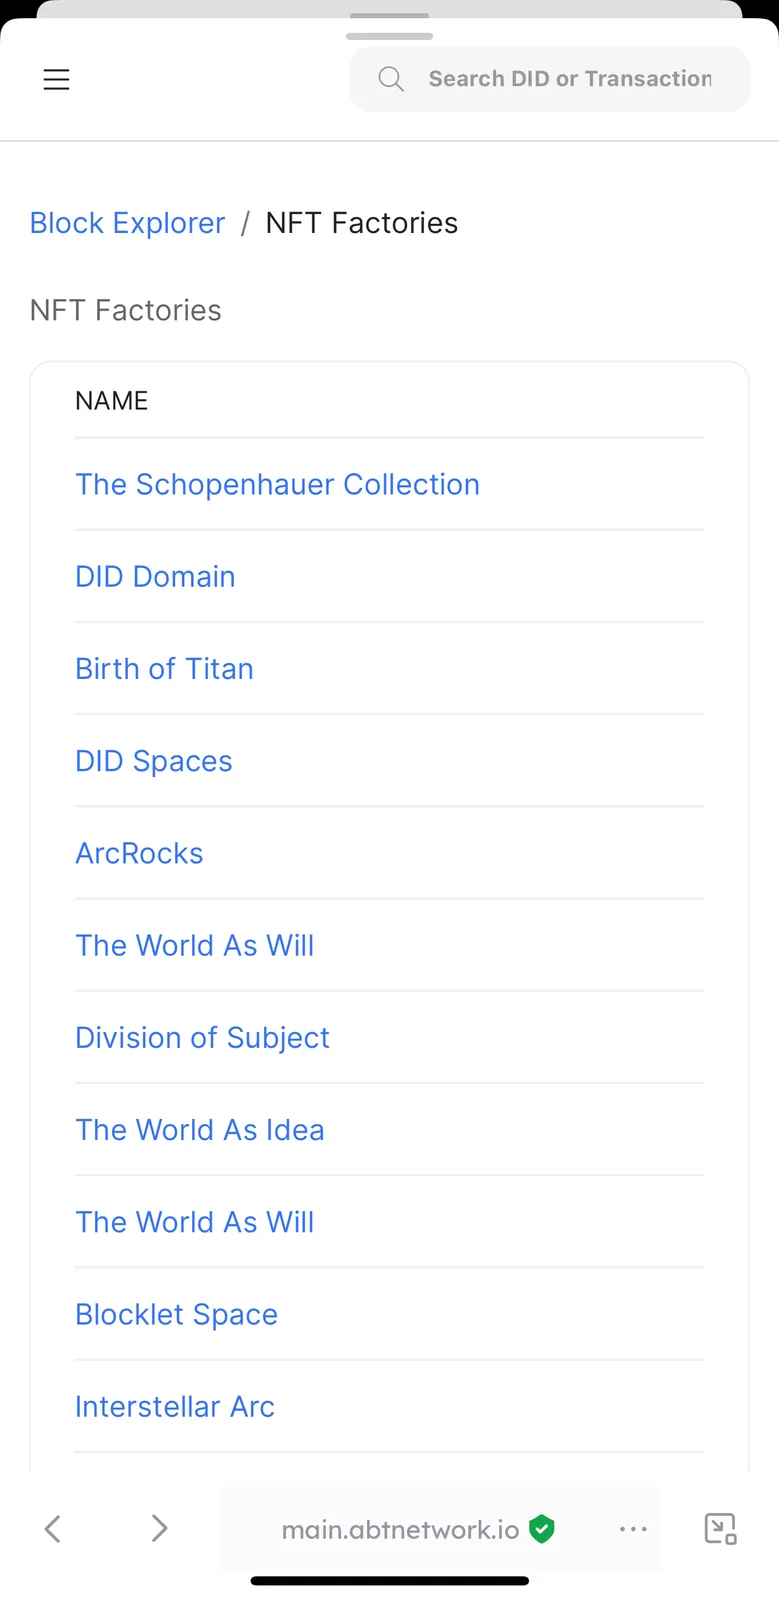
- Click the name of the collection and you will be taken to a page displaying information about the collection.
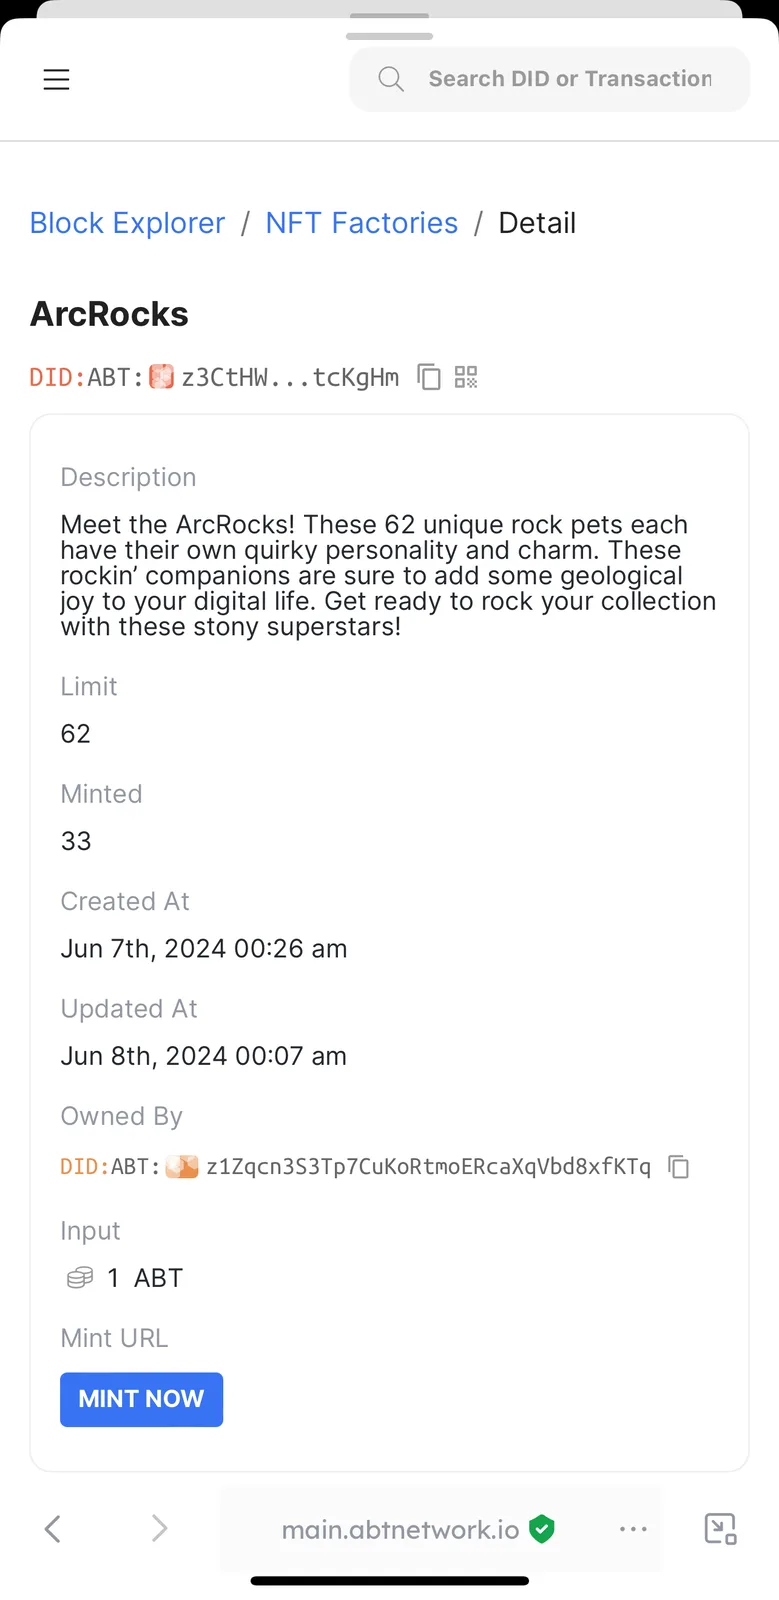
- Once you have the Factory details/Mint link you’re good to go, click the “MINT NOW” option at the bottom of the information page and you will be given the option to connect your DID Wallet, click the wallet you want to connect and you should be taken directly to the mint page which should look something like this:
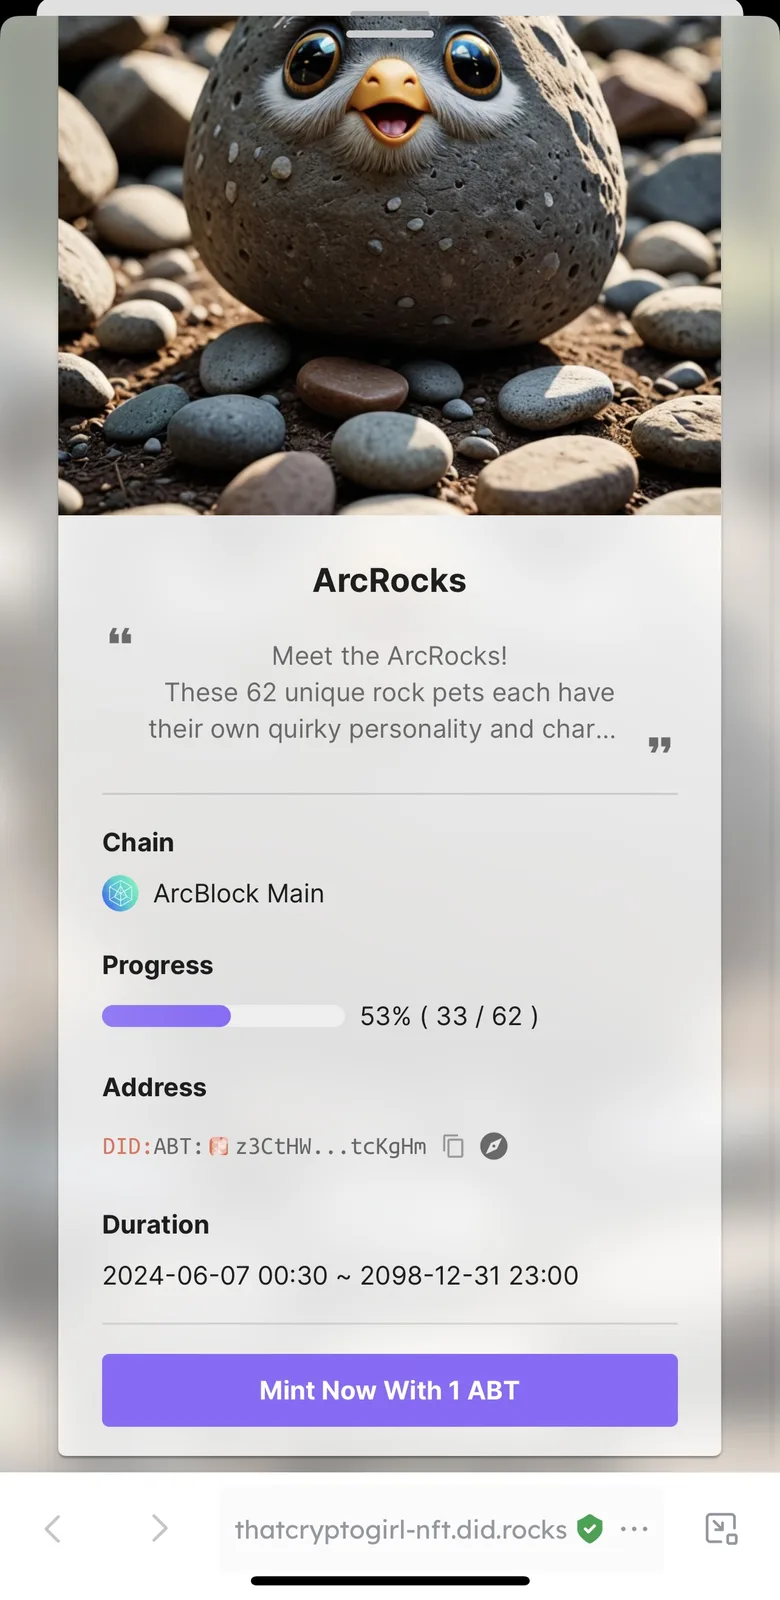
- This page will show the progress of the collection (how many have been minted so far) as well as the cost to mint a single NFT from the collection. Some collections will display the next item to mint, others will be mystery mints where the image is a reference and may not be the identical NFT you will receive from the collection. If you’re happy with what you see, go ahead and click “Mint now with X ABT” this will be the cost of the NFT
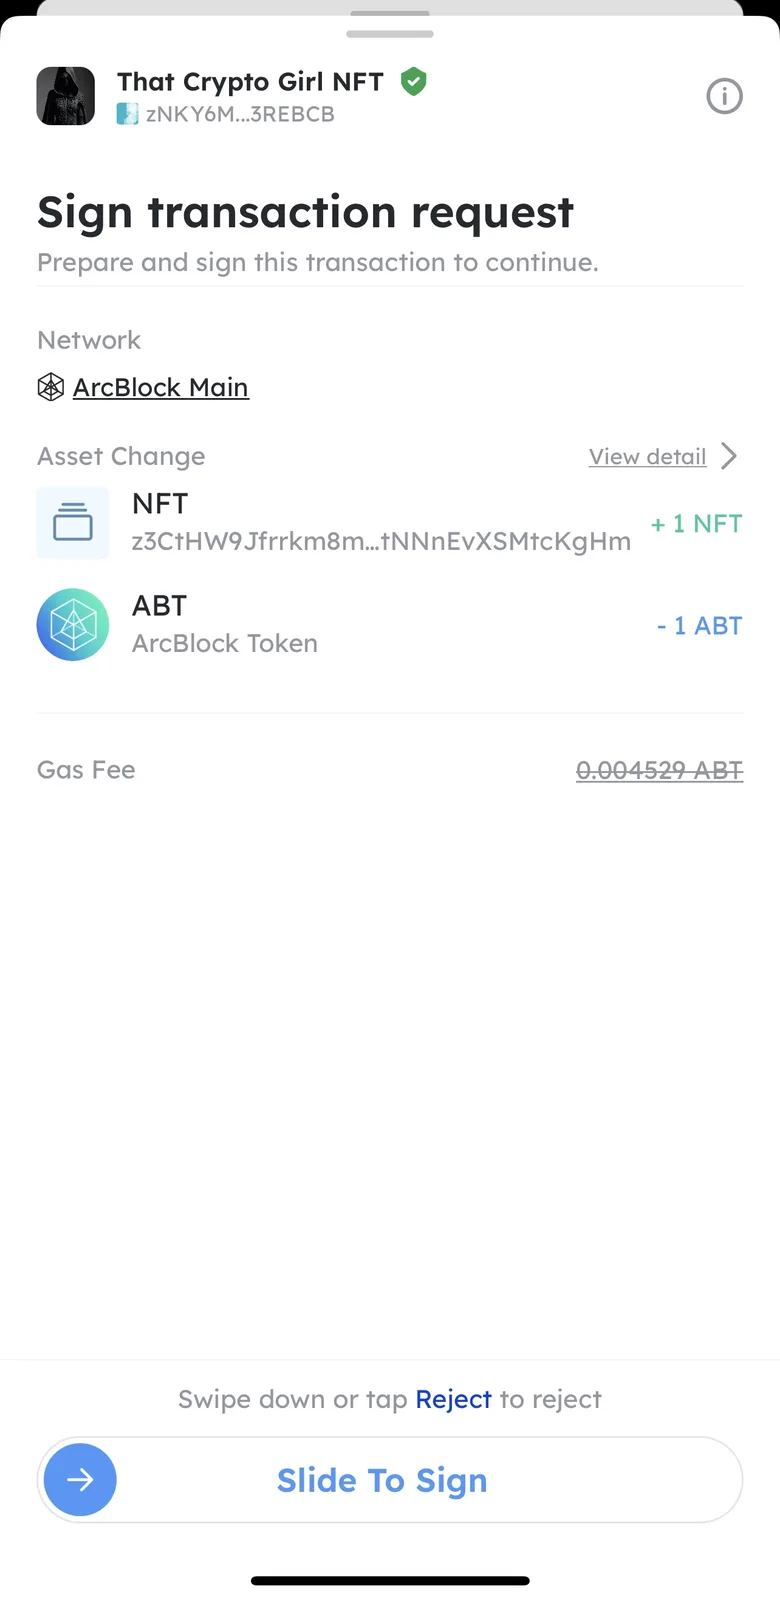
- You will then be shown a DID connect message as the page loads up with the details of the transaction, if you’re happy with what you see now is the time to “slide to sign” this confirms your transaction
- After you have purchased your NFT you will be met with a congratulations message to confirm the transaction was successful
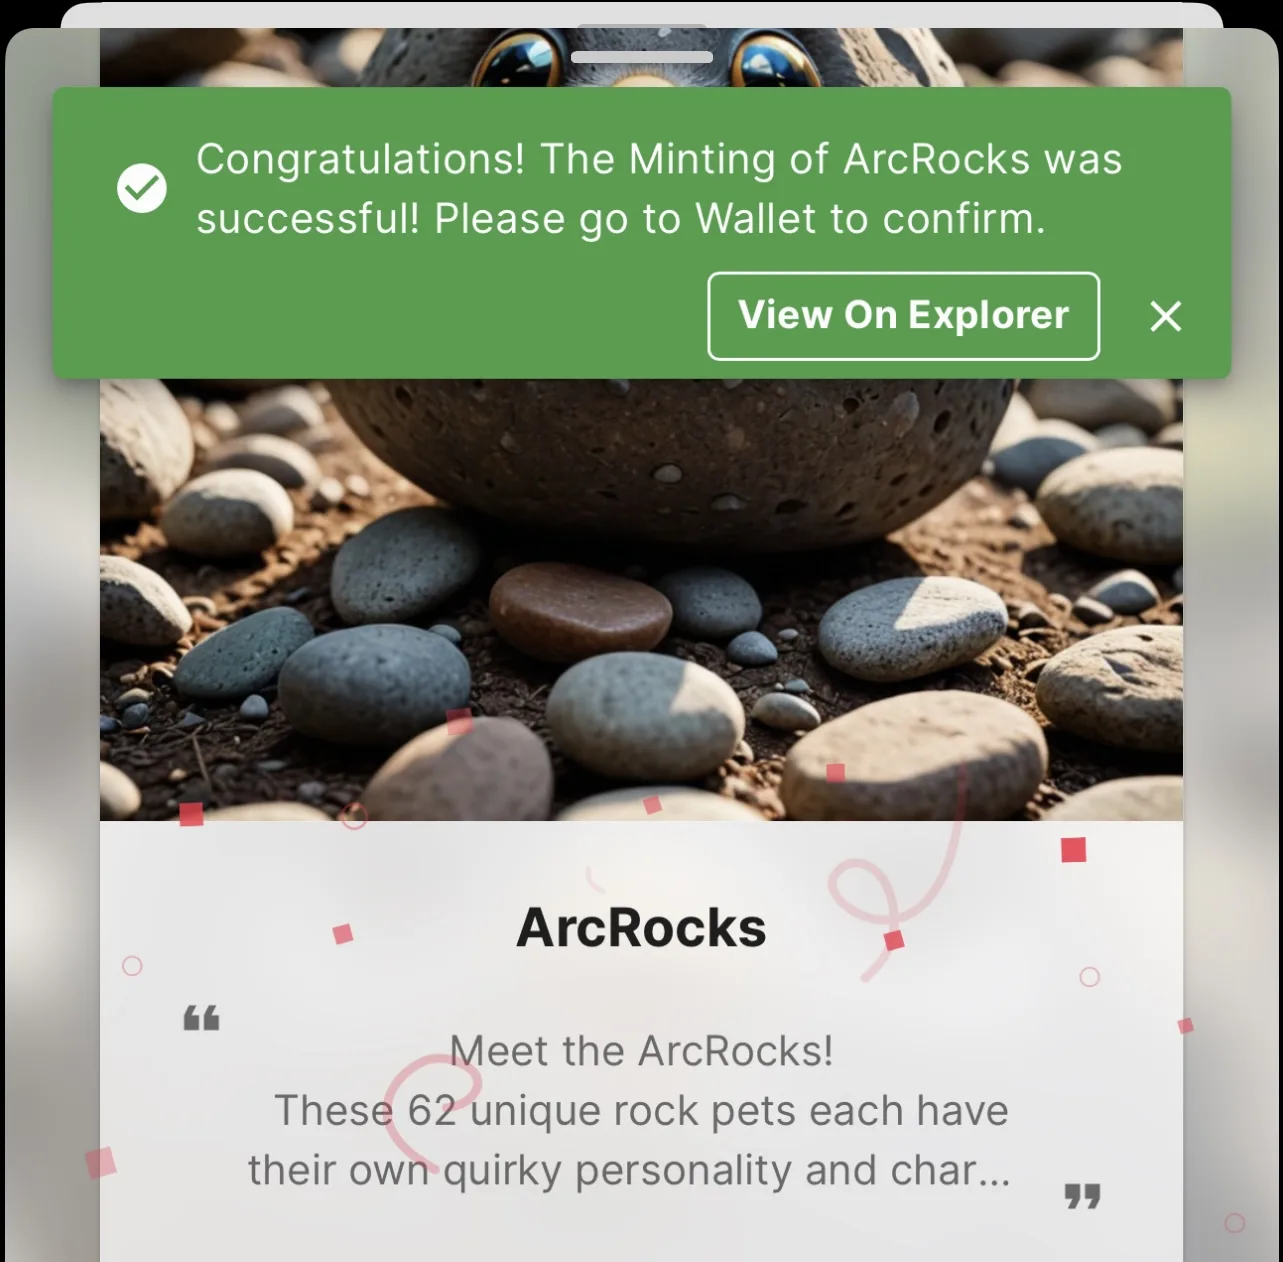
- You can now exit this page and your NFT will be displayed within your DID Wallet
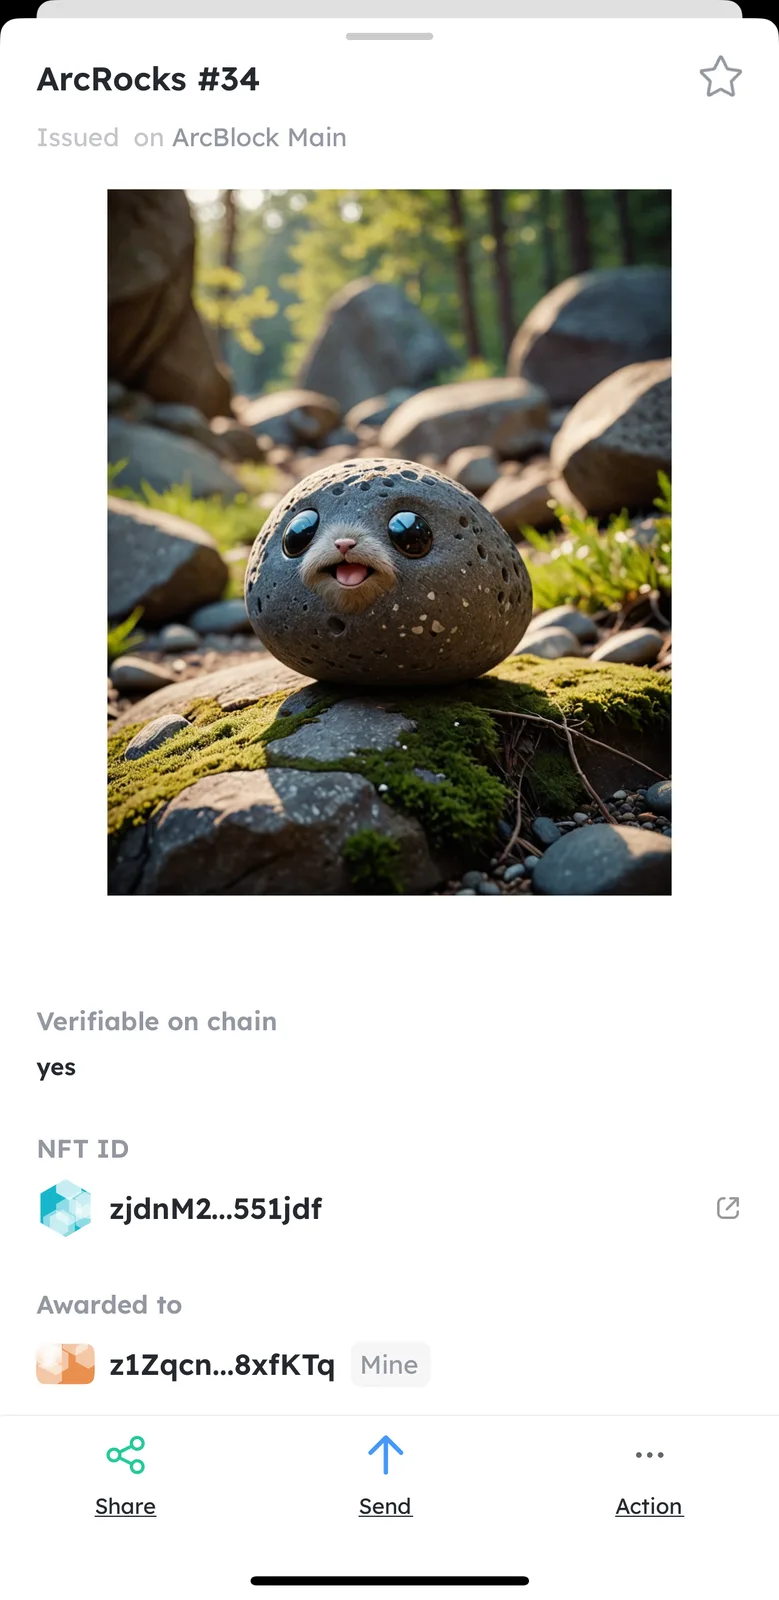
Enjoy getting started with your journey of Arcblock NFTs 🥳
4 replies
Great tutorial, to keep things consistent, we should use "DID Wallet" instead of "DiD Wallet", 😄
Good point 😅 I‘m not sure why I always write it out that way 🤣 I’ll edit it shortly to show DID and I’ll try to remind myself next time 🤪
Done ✔️